One of the most remarkable aspects of using the Divi theme is the breadth of its choices. From using the front end or back end builder to modifying modules with a variety of options, Divi is simply a theme that responds to a wide range of users by allowing for deep degrees of customization in an intuitive and accessible manner.
Extending on this idea, Divi users are not constrained in terms of CSS styling.
Along with the standard stylesheet included with almost all WordPress themes, Divi users are fortunate to be able to enter CSS in a variety of locations, six to be exact!
We’ll examine the numerous options for adding custom CSS to your Divi theme in the following blog article, as well as the advantages and disadvantages of each method.
Please keep in mind that, at the time of writing, Elegant Themes had just released a sneak preview of one of the upcoming Divi theme upgrades, which included the addition of format-friendly Custom CSS boxes to the Divi Theme Options boxes. If, by the time you read this, the update has been applied and you are developing CSS within the Divi framework that mimics the formatting of a text editor or integrated development environment, please disregard the areas where I discuss the lack of formatting.
Four Different Methods for Including CSS in Divi
Divi users can add custom CSS to their websites in five different ways. Among these techniques are the following:
- Inline CSS is added to the content section of a module.
- Custom CSS Box in the Divi Theme Options Dashboard.
- The Advanced options tab of the sections, rows, and individual modules.
- Add CSS with the WordPress plugins.
1. Inline CSS added to the content section of a module
Any module within the Divi theme that has a content area (i.e. a place where you can enter custom text, such as the text module, blurb module etc.) will allow you to add inline styles. To add inline styles to a section of an element, you’ll require to target the element itself and add the <style> attribute, thereafter you can add any number of styling properties that relate to the specific element you’re trying to target and style.
To add inline CSS to a module in the Divi Builder (provided it has a content area), open the WYSIWYG Text editor, not the WYSIWYG Visual editor.
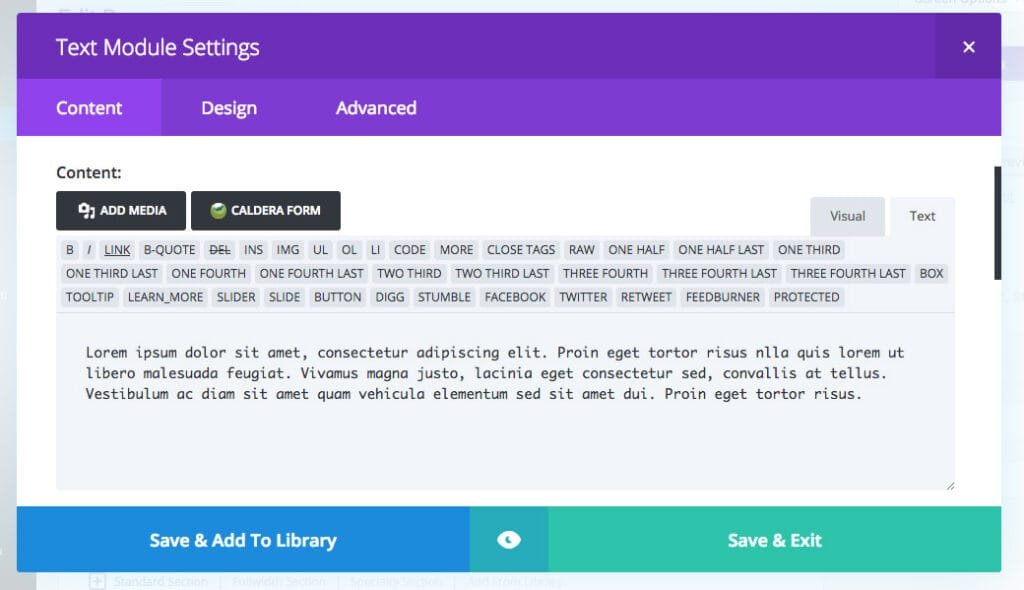
Next is to assign a tag to the element (in this case, we’ll assign a <p> tag to make it paragraph text and apply the <style> attribute. Once the style tag is added, you can add various properties and values.
2. Add Styling to Divi Using the Divi Theme Options Custom CSS
A popular way to add CSS to Divi is by using the Custom CSS box in the Divi Theme Options dashboard. To locate the Custom CSS box navigate to Divi > Theme Options and scroll all the way down the page until you see the Custom CSS box.
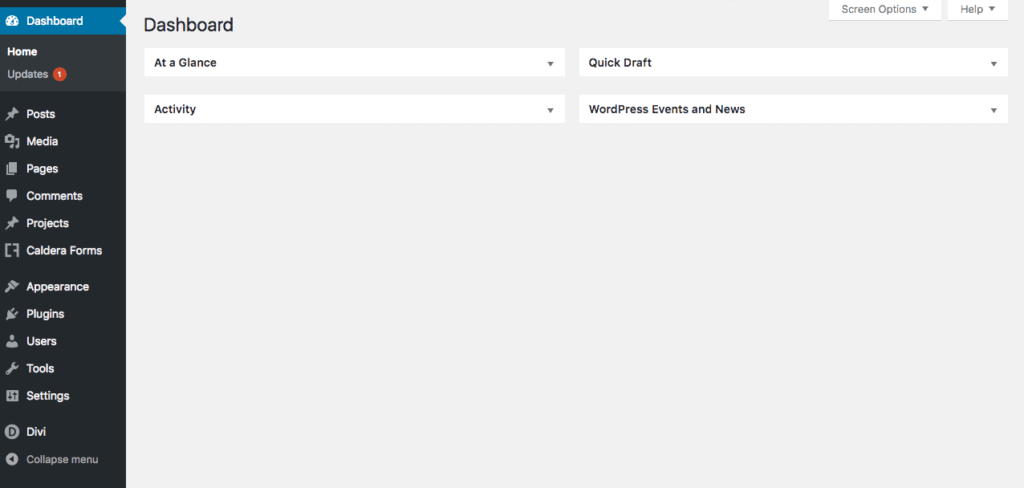
Unlike code editors (such as Sublime or Brackets), the Divi Theme Options Custom CSS box does not include any colour-coding or automatic script guidelines so be sure to pay attention when entering CSS here.
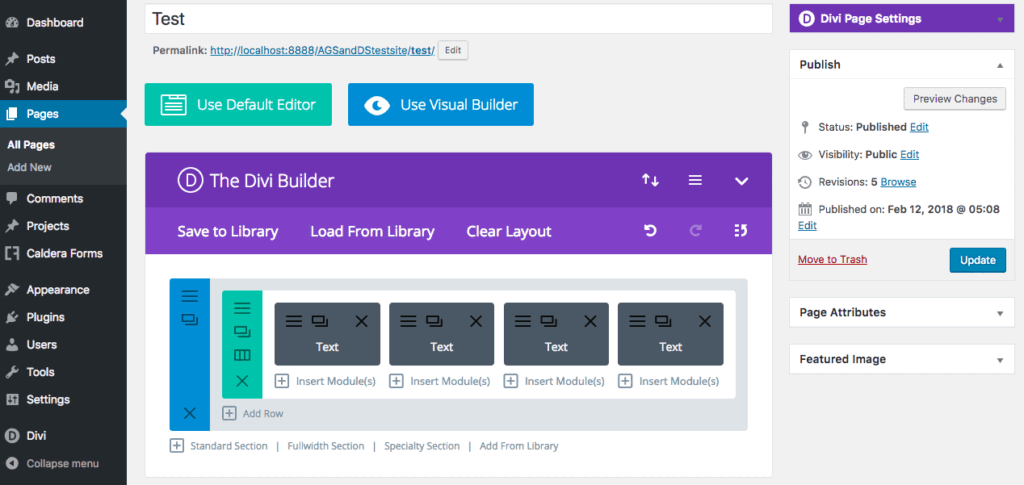
For the next example, we’ll take the second text module in our four-column layout. We’ll take the second text module’s paragraph text and style it by increasing the font and changing the colour.
If you know exactly which element you are targeting, you can enter the CSS directly into the text area. To find the exact property that you may require to target, you can open the specific Divi module, navigate to the Advanced tab and click in the Main Element area. The name of the property will automatically pop up just above the text area.
Simply copy that selector, head over to the Divi Theme Options Custom CSS box, paste in the selector’s name and add the desired styling. Do not forget to click Save Changes.
3. Add Styling to Individual Divi Modules Using the Advanced Tab CSS
The next place that you can add CSS is in the Advanced Tab section of the individual module, row or section
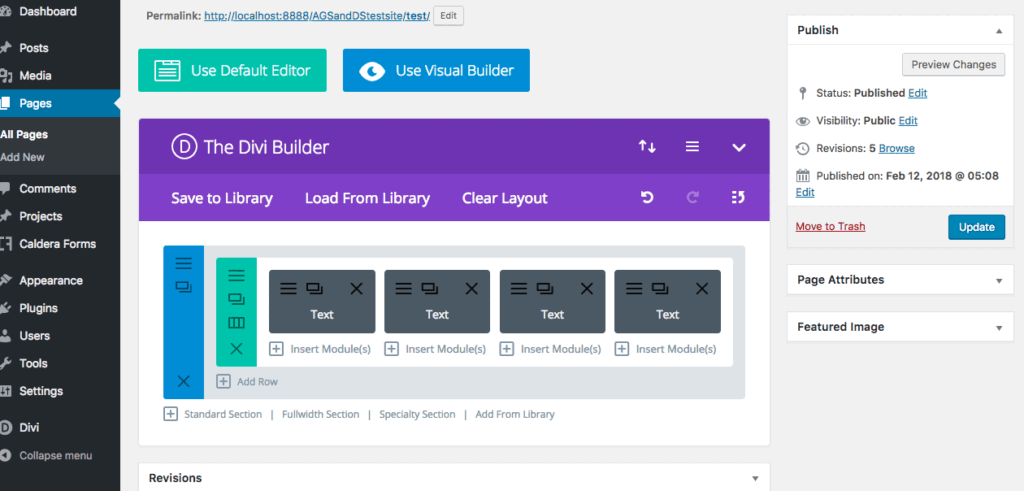
First, let’s cover the individual modules Advanced options. Within the module’s Advanced tab, you’ll find:
- CSS ID & Classes: Here you can enter unique class or ID names that can be used to add even more layers of unique styling
- Custom CSS: Composed of the before, main element and after boxes. The before and after areas are for pseudo-elements, to add additional elements either before or after the content. The main content box is where the styling of the specific module should go.
- Visibility: Here you can decide whether the module should be hidden or shown on various devices
Note, each module in the Divi builder is composed of different elements and so will present a different set of options in the Advanced tab.
To add CSS to the individual module, open up the module itself by clicking on the hamburger menu, navigate to the Advanced tab and scroll down until you see the Main Element box. Here, add the various CSS styling, but note, you only have to enter the property and the value – you do not may require to specify the selector.
You can do this for every section, row and module.
Adding CSS into the modules and rows can be useful for quick, simple edits, but beyond small changes that are going to stay the same forever, adding CSS this way isn’t really recommended. If you’re going to be working on a website regularly, changing up the aesthetic or adding new content, using the module or row CSS may present a few problems down the line as trying to keep track of hundreds of lines of CSS entered into various modules scattered across a website can be confusing.
4. Add CSS with WordPress plugins
Plugins are a great way to add CSS because they do not require any special coding. Simply install a WordPress plugin and you can start adding your CSS. There are lots of good options available in both free and premium versions. Here’s a look at a few of the best options.
Simple Custom CSS and JS
Simple Custom CSS and JS is a free plugin that adds an editor to any WordPress theme to make it easy to add CSS and JS. The editor adds syntax highlighting to make it easier to follow. Add the CSS on the frontend or backend.

Once you have created your code you can print it inline, add it to an external file, print it to the header or print it to the footer. The code is cached within your files so they do not have to load from the server every time the page loads.
A pro version is available that adds even more features such as Less and SAAS preprocessors, editor themes, the ability to choose specific URLs to display the code and more.
- 1 site – $48.50
- 10 sites – $68.50
- 50 sites – $148.50
SiteOrigin CSS

SiteOrigin CSS is a free CSS editor that works with any WordPress theme. It includes visual controls to make editing even easier and you can see the results in real-time. Choose colours, styles and measurements with the click of a button.
It has a lot of help for writing CSS. Click on any element and it will identify the best selector to use. The code auto-completion feature for selectors and attributes makes writing CSS faster. It also has tools to identify issues with your code before it’s published.
The Bottom Line
There are many ways to add custom CSS to the Divi theme, the trick is to find the method that feels the most comfortable and suits your Divi design habits the best.
If you decide to add CSS to the modules, pages or content areas as inline CSS, we recommend possibly keeping a note of this so that if and when you return to a website, you don’t spend hours trying to figure out where certain CSS is being served from.
How do you add CSS styling to your Divi website? Which is your favourite and also least favourite method? Please feel free to share your comments or questions below. We love receiving your feedback!

