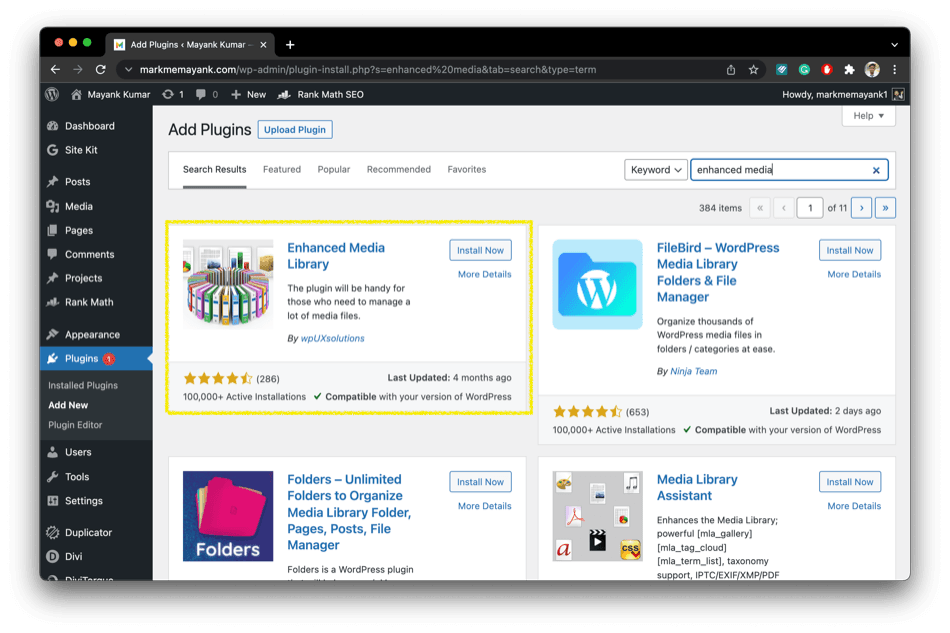
To add custom fonts to your Divi Website, you have to install a plugin called Enhanced Media Library, one of the most popular WordPress media library plugins available. This plugin makes it easy to categorize your media files. You have control over the image sizes and taxonomies. Create categories, tags and custom taxonomies or use third-party taxonomies. Filter library files, show information, create galleries and more. But we will use it to upload our font to Divi Website.

Installing the Enhanced Media Library
You have to install to Enhanced Media Library plugin to your Divi WordPress website of You can download it by clicking here. And activate it on your website.
Setuping the Plugin according to our requirements
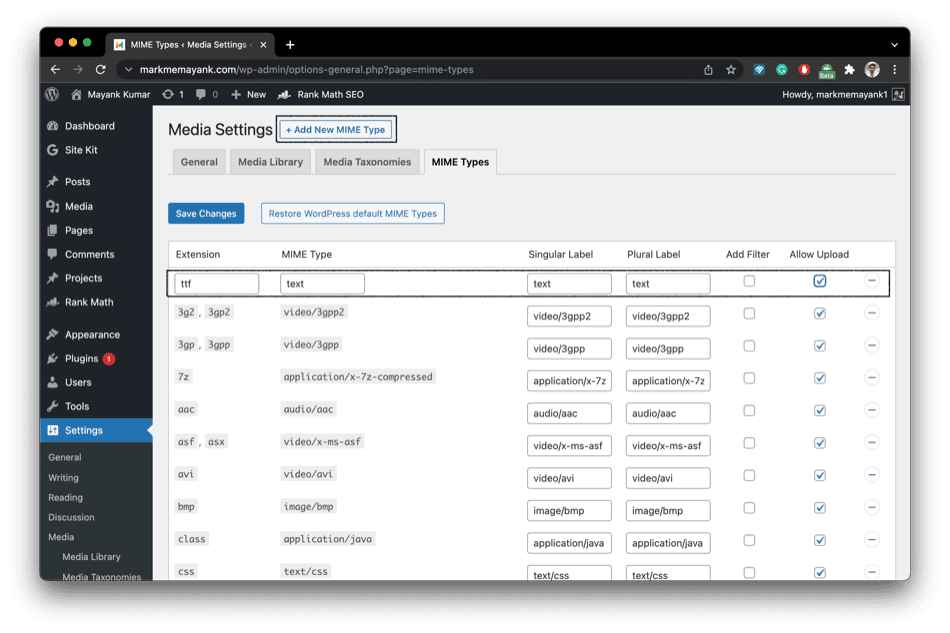
We have to set up some settings in our plugin environment to upload our custom font. Go to Setting > MIME Types > Add new MIME type. Now add these details mentioned below in the image and save changes. There are two extensions for font .ttf and .otf you can fill in which your font is downloaded.
Uploading Our Custom Font
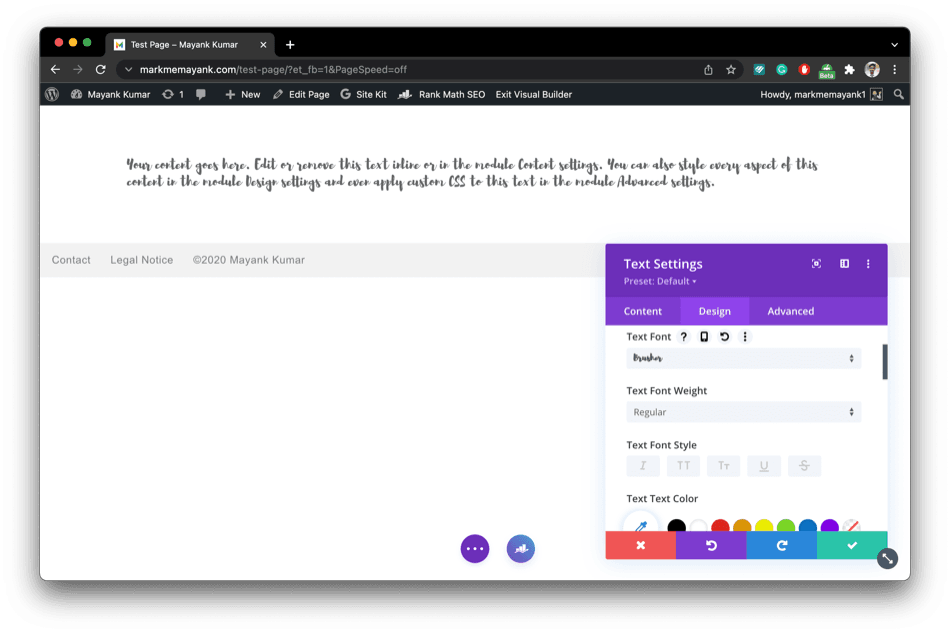
For this tutorial, we have to choose a font that is not present by default in Divi Builder. We are selecting the “Brusher” font to upload. For uploading the font, you have to navigate to Divi theme builder on any page of your website. Now add a text module and navigate to choose the font.
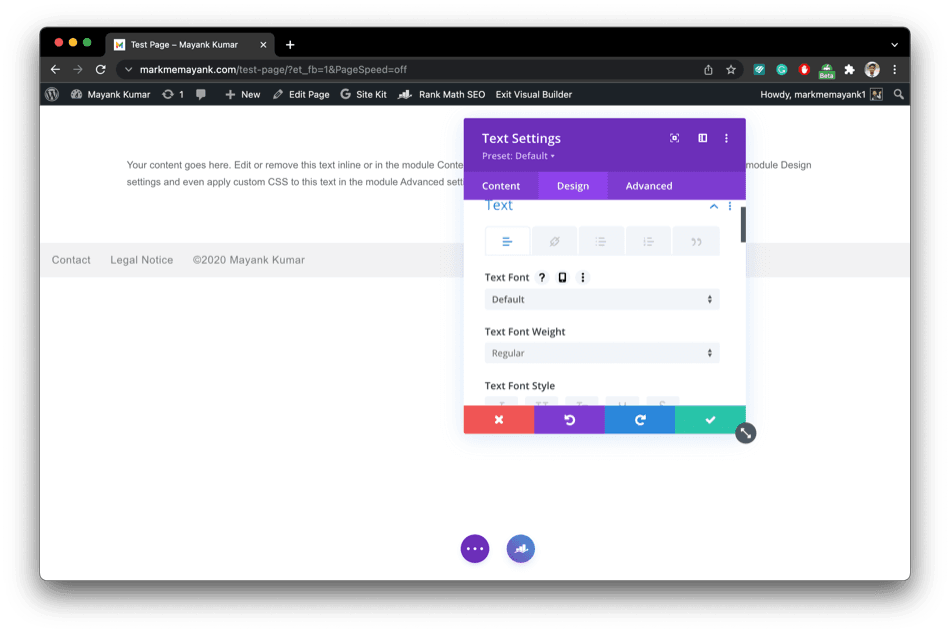
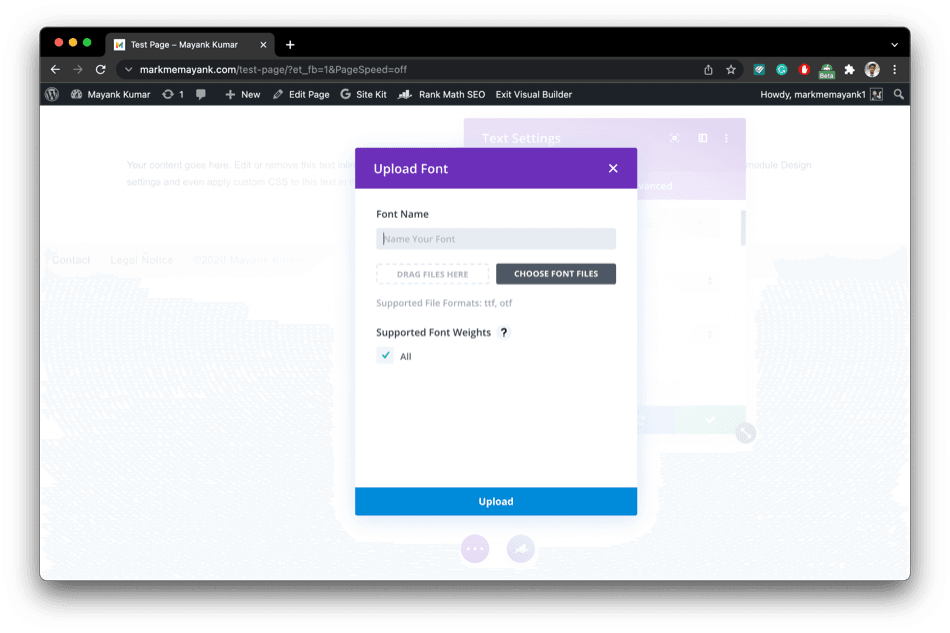
Now you can upload any font by using the method.
The Bottom Line
This is one of the easiest ways to do this. There are a lot of methods as well to do the same. If you face any problem with this, you can leave your question in the discussion or comment. We hope that you’ve enjoyed reading this tutorial and that it helped you shake up your Divi fonts use by introducing custom fonts.
We want to hear from you!
Have you used custom fonts on your Divi website? If so, which are your favourite fonts to use? Leave your comments below! Thanks for reading!

